Architects use Map builder two ways: to download a base map styled to match their drawings, and to place a master plan on a live map they can share. Here is one scheme in Beijing, done both ways.
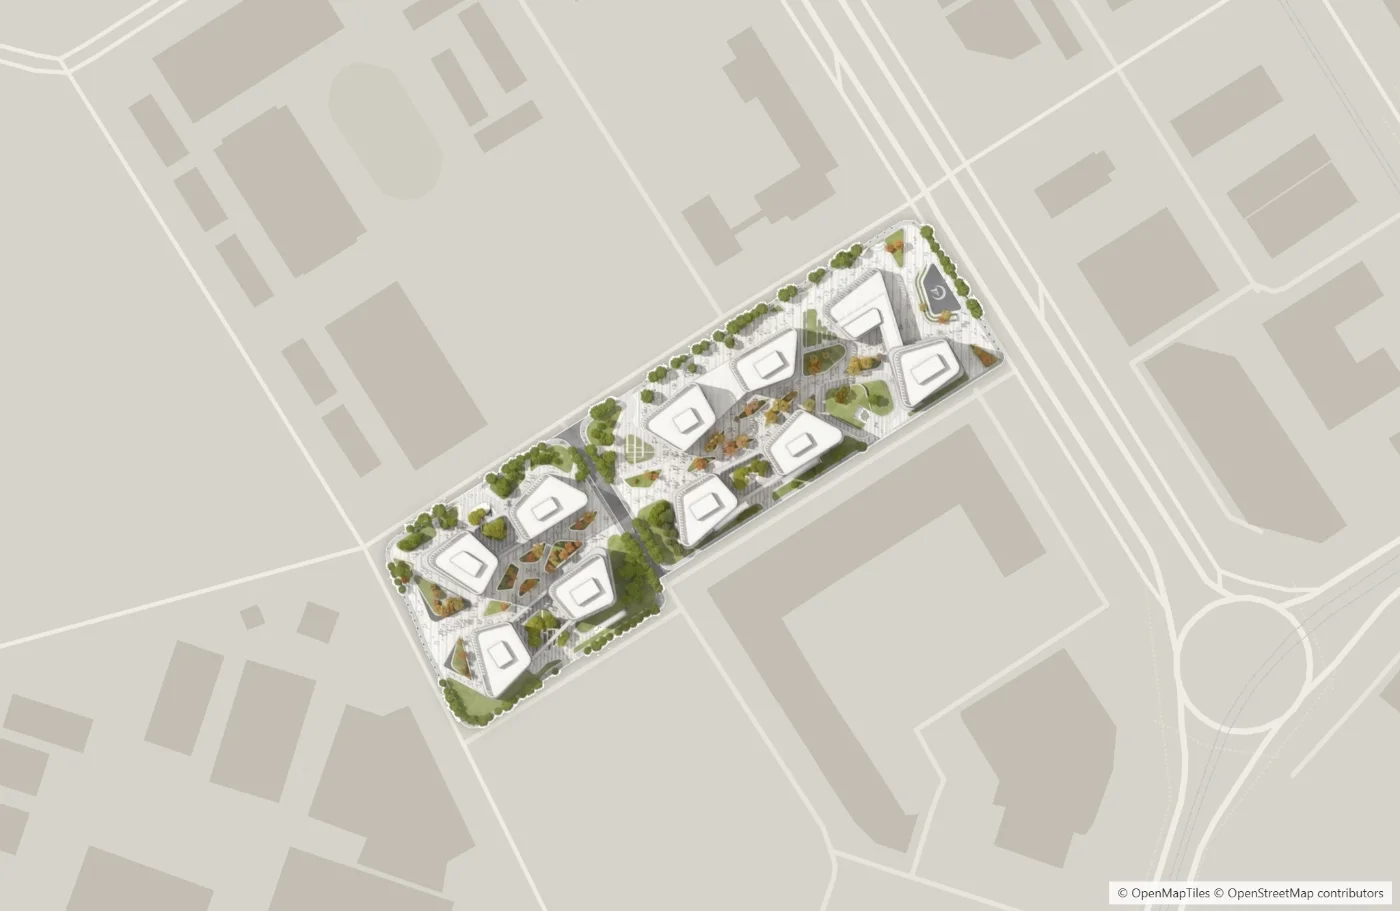
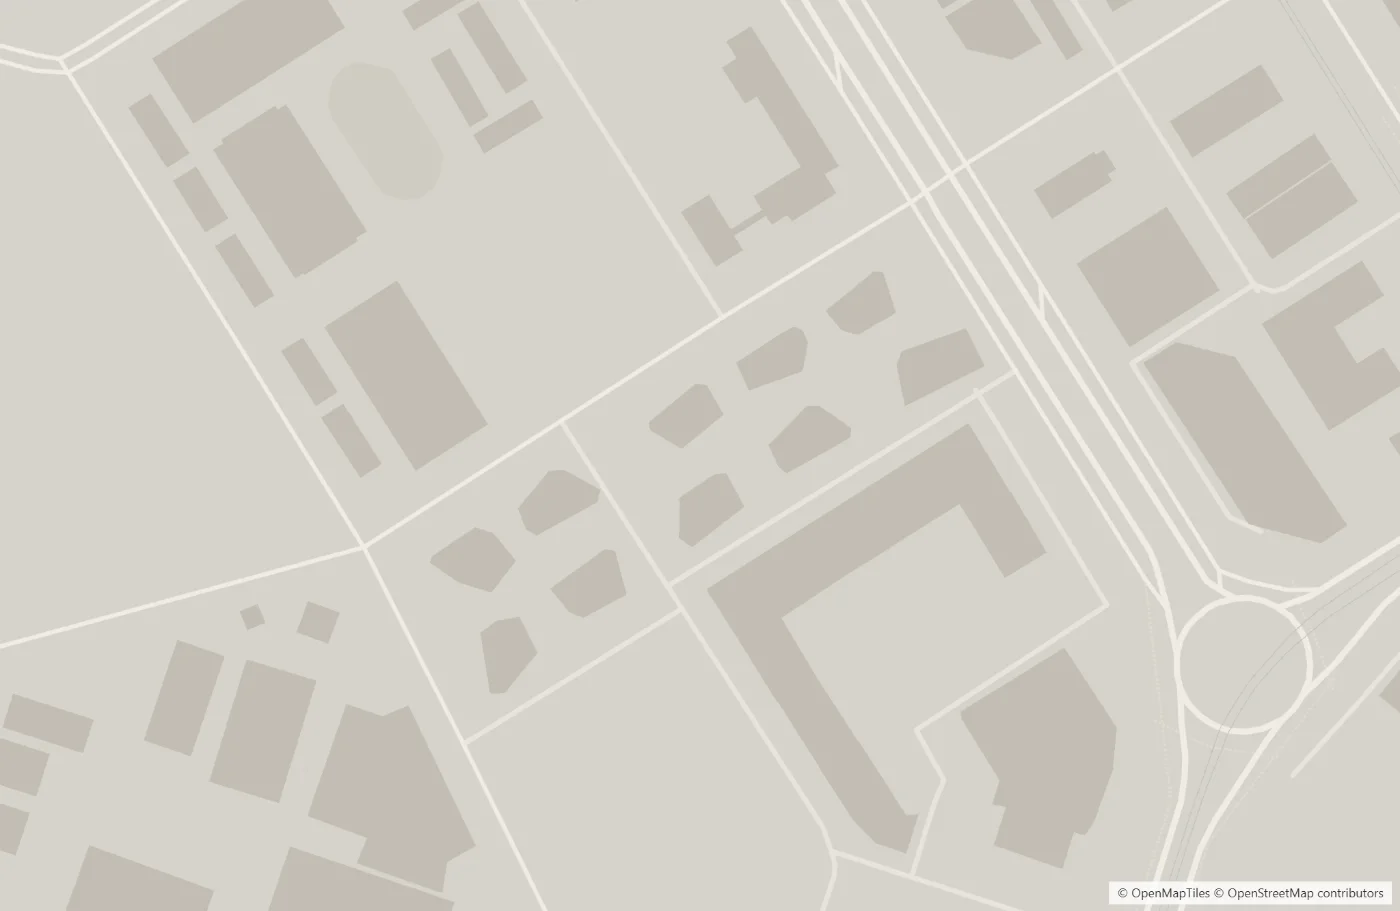
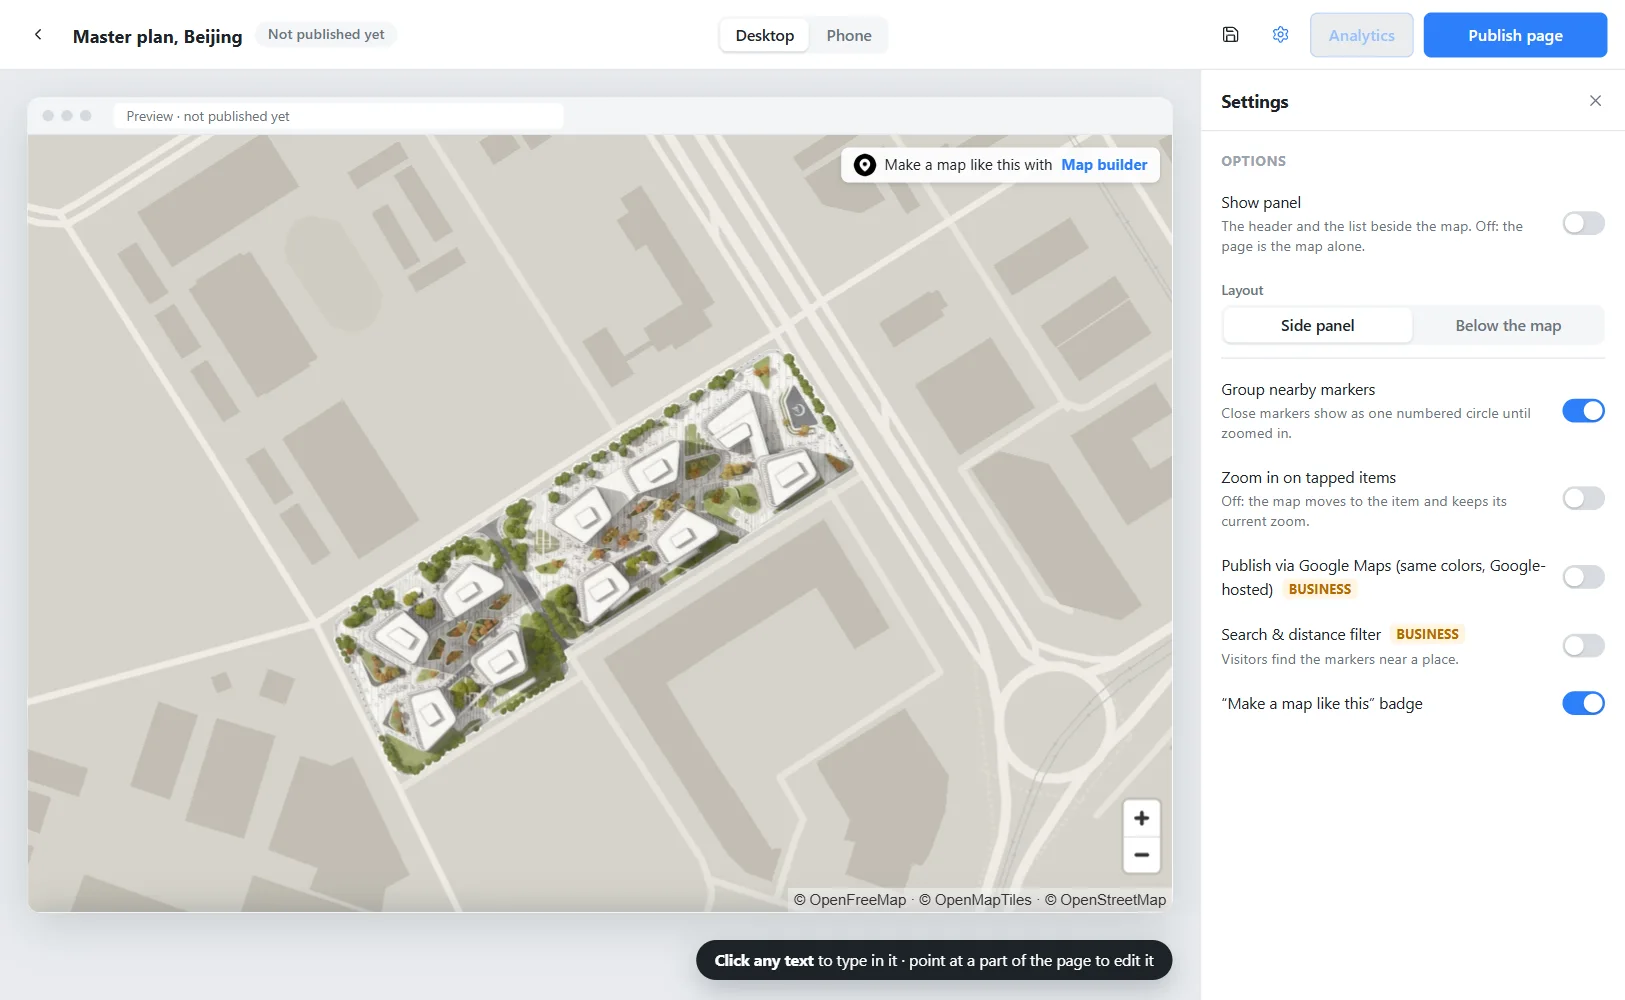
This master plan sits on a map styled and downloaded in Map builder: a warm stone ground, pale roads, the existing buildings a step darker, and every label off. The drawing was placed on top afterward, as you would on a presentation board.
Start from a preset, then give the ground, roads, buildings, water and parks your own colors. Turn off labels, icons and anything else your board does not need. Every feature has its own switch and color, so the map takes the palette of your drawing instead of competing with it.
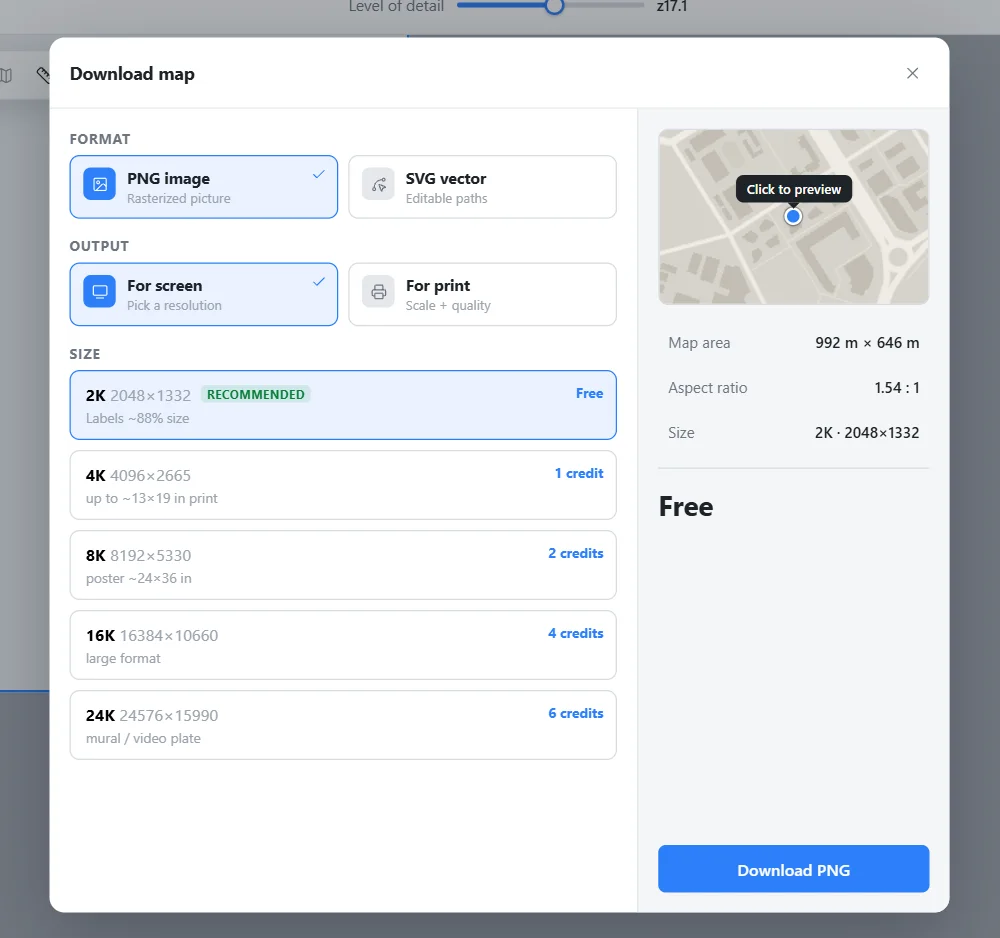
Draw a box around your site and download a PNG: 2048 px is free, and larger sizes print at an exact scale and DPI. Or export a true vector SVG with named layers, real text and scalable paths. Open it in Photoshop, InDesign or Illustrator and place your plan on top. The map is the background, and your drawing stays the hero.
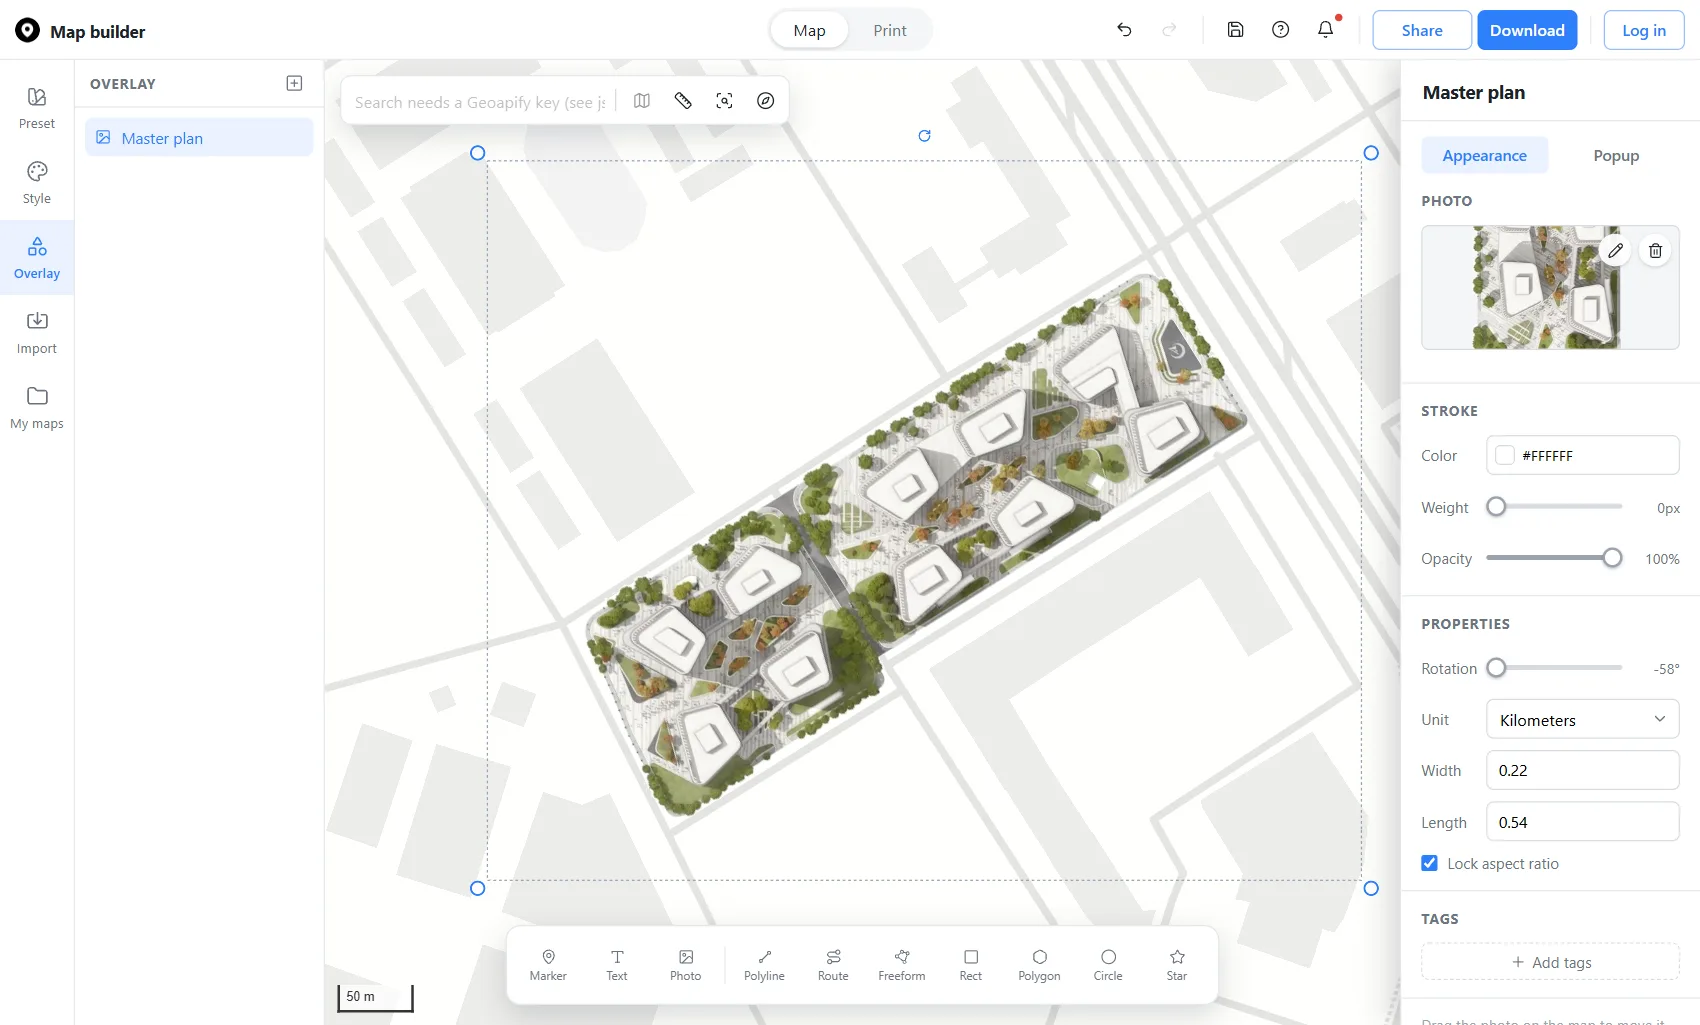
This is the same scheme as a live map. The master plan is a photo overlay, turned and scaled to sit on its block, with the real streets around it. Pan and zoom to see the plan in its context.
Click Photo on the Overlay toolbar, click your site and upload the plan. A PNG with a transparent background works best. Drag it onto the block, drag a corner to scale it, and turn it with the handle above it. Or type the exact rotation and the real width and length, so the drawing sits on the map at its true size.
Open Share to preview the page your client will see, then click Publish page to get a link and an embed code for a project website or a client review. Send a collaborate link so colleagues or classmates can edit the same map. Add markers and text for the station, the park and the other places that explain the site.
Styling, photo overlays and a 2048 px PNG are free, so it costs nothing to try on your next project. An SVG uses credits, priced by size before you pay.
Click Photo on the Overlay toolbar, place it on your site and upload the plan. Then drag, scale and turn it until it lines up with the streets, or type its exact rotation, width and length.
A PNG with a transparent background, cropped to the edge of the site. Everything outside the drawing then shows the real map instead of a white box.
Yes. The SVG export has named layers, real text and scalable paths, so you can restyle it in Illustrator or Inkscape.
Styling, overlays and a 2048 px PNG are free for everyone, and saving your project only needs a free account. Larger files and SVG exports use credits.
The base map uses OpenStreetMap data. Downloads carry the required credit, so you can use them in portfolios, publications and client work.
 Map builder